My Contribution - Portfolio - Mechaten
Report
Julian Whatley 20/05/19
This is a portfolio in the form of a report.
I will discuss and show my ability to contribute to the updating, maintenance and management of the development documentation. I will display my role as contributing to the success of the game detailing time spent on the project and demonstration that this was well managed by myself and pertinent to the success of the final product. I will show what relationship I had with others, demonstrating that while I worked within my own role I also enabled others in achieving theirs. Examples will include suggestions I made in meetings and the time I spent with other members of the group.
After presentations on a game proposal idea the decisions were made that the class/group were going to make Martha’s game called Mechaten. The proposal was about a fighting game with mechs in a city. The way it was visualized was with two massive mechs that are much taller than the buildings in the city. The mechs are equipped with weapons and are tasked with fighting each other. A few ideas that were also discussed having three mechs fighting instead of two, as having three would make the game more interesting. One mech would be a tank with amazing amour, the second being a speedy mech able to manoeuvre very fast, and the third mech would be able to fly around and launch rocket. As a group we decided on two mechs, that are equally matched, with the same weapons and shields, making the game skills and precision based rather than character based.
On day 1 (25/02/2019) We had a team meeting to discuss what role I would undertake. I chose to pursue Level Design and narrative as it would allow me to push myself beyond my boundaries.

To enable us to develop this game idea further, a group in Slack (an online chatting platform, similar to Discord and Skype) was made, allowing us to have a place to contact each other in a professional environment. First I focused on a Narrative concept which has been uploaded to a shared drive folder called Mechaten/Documents. (Download file can be found at end of document). I started by writing up a few ideas and asking the rest of the team for feedback. After establishing a narrative concept I then worked with the rest of the team to further the ideas of the game mechanics. Sounds counterintuitive but as it turns out having a narrative as a foundation first helps establish what the actual game is about.

Day 2 (26/02/2019) I continued working on the narrative for the first session that morning. Then Josh (Producer), Stephen (Technical Artist) and myself had a meeting to establish what could and couldn’t be done regarding Art, Level Design and Coding. We discussed what would be suitable for a level and how we wanted it to be visualized. Then we decided to go with my second idea of a battle style arena of a city within a dam. I continued expanding on the second narrative to make sure everything was established. In the afternoon session I was tasked with creating a Level Design concept. I started drawing out a rough outline on paper and then drew the roads and added landmarks. It was at this point I started to realize that it was very time-consuming when drawing out whole Level Designs.


Day 3 (27/02/2019) I continued with the Level Design and started working on the scale system based on a 3D visual scale system known as the Pre-Vis made by the technical artist.

Using these measurements I went on to create my own scale in 2D.

I drew the buildings out using pencil and colour coded the buildings. The scale was 10cm = 1m, This changed when I imported the scale guide into Photoshop. It didn’t really matter too much as it was still in the early concept stage. The reason I imported the scale into photoshop was, so I could make my life easier by using lines to create roads and to copy and paste buildings instead of manually drawing them. I started to record everything I was doing using OBS (Open Broadcast Software, a screen recording program). Videos can be found in the videos folder: (Download file can be found at end of document).

I started off by creating a Key and saving those as a layer.


I created folders for each of the buildings and named them accordingly in the folders.
Day 4 (28/02/2019) I went back into photoshop this time with my wacom tablet and drew lines of attack, lines of sight and lines of defence. I made a key with what each colour means along with what other colours may mean such as circles around buildings. The Pink line is the direction in which the player can travel. This is when I created a document to justify my means. Located in Mechaten/Level Design/Legacy Concepts/Concept Level 1 v1. (Download file can be found at end of document).


I then asked Stephen if he could create a Level Design tool to assist in the city generation within Unity. The idea was to save me from manually having to place every building. With this tool I was able to click a button, and the tool read from my map layout in 2D, and converted it to 3D buildings.


Day 5 (03/03/2019) I designed 3 more Level Design concepts with justifications for each, to provide the team with more options and information so, as a team, we could choose the most suitable environment for our game.
As you may note, on each of the following pictures I forgot to put the correct date on the actual concept picture. I tested out the scale in unity to see if it was large enough for a city.


At this point I decided to stop drawing in the lines of attack, defence and sight, and started testing my designs using the Level Design tool (city gen) that I requested. I had to convert my concepts to pixel art using Piskel.


I couldn’t figure out how to use the Level Design Tool, so I waited till the next day when I was in class for Stephen to give me a tutorial on how it works.
Day 6 (04/03/2019) Stephen organized for James and I to sit down and learn how to use the Level Design Tool (City Gen). I had already blocked out the city using pixels as recommended by Stephen. Stephen then went on to explain on how to import the pixel image and how to configure the tool.

It was at this point that I got told my city design is awful, I need to re-think my designs, and that I needed to think creatively, whilst avoiding symmetry where I could.
One of the things that I learnt with Level Design while growing up is a level is usually symmetrical as this allows the players equal opportunity with no advantageous start positions, or other level based advantages.


Day 7 (05/03/2019) I imported a 3D model of a blimp that Martha modelled, and I reused a script to animate the Blimp rotating around the map. It was a simple little script:

This script has been recirculated and repurposed many times in many of my other projects thanks to David Mallett who provided me with this script last year.

Once the blimp was added along with the script, I changed a few values to have it rotating around the map. I then made a prefab of it and passed it over to James who is in charge of building the game.
We stopped all production and tested the game as a group. We had a discussion about whether any of the artists actually understood the narrative, because all the artists had different ideas on what they were doing and what style we were developing. This is due to too many ideas being discussed, but none being officially accepted until this point, so many has created their own assets and other work related items with different text styles, colour palettes and art styles being used. I stepped in and said “I can make the narrative a listicle and make it clearer and easier to understand”. Josh said “yeah, that’s a good idea”.


In the second picture of the meeting we wrote down what we thought about the current state of the game.

In the discussion we also agreed that the Level Design needed changing again. So once I finished writing up the Narrative listicle I posted in Slack saying ‘it’s in the drive’.

I also advised the whole class that it was finished, via verbal communication whilst we were all in classroom.
The narrative consists of when, where and why. I was also tasked with redesigning the city to have smaller buildings on the outside.
Day 8 (08/03/2019) I decided to go back to the original design and expand on it by creating suburbs which I called A and B. These suburbs were then placed on the grid ‘Level Design city’ to expand the map design.
After some feedback I decided that I disliked the design of the map, and so went back to the drawing boards.
Day 9 (11/03/2013) After a few days of rest I redesigned the layout again on paper but realized that it was too time-consuming. After this I went back into photoshop but was advised by the team that the design was too symmetrical, and not reflective of a real city layout.


Day 10 (12/03/2019) I completed some more research on what a city looks like, and found a useful tool in creating a non-symmetrical city: Medieval City Generator. Even though our city/game isn’t set in that time period it was a good foundation in setting up a Level Design.
I then took the generated city into photoshop and started placing the buildings where I thought they needed to be.

After I completed these tasks in photoshop I realized that I could no longer use the Level Design tool that Stephen made. I then used Unity and manually placed all the buildings. It took a long while but I preferred the natural placement of the buildings over the computer generated placement.
Day 11 (13/03/2019) I waited for a reply from Josh, where he approved of the Level Design. I was also still waiting for the artists to finish with the assets, so I could place them in the level to get a feel for what I wanted in the Level Design.
(18/03/2019) I was off ill for this week, but was kept up to speed on the progression of the game via David M.

I had feedback on my Level Design via Slack, and was told “it is not good enough” and that David M has been tasked to work with me as a Level Designer.

This was a meeting that I was not apart off as I was off.
Day 12 (22/03/2019) I made a call to David M on Discord, where we researched different Level designs and looked at other games that had destructible cities. We also looked at real life locations, such as London, Tokyo and San Francisco, to establish the layout of cities, road designs, and rural areas.
Day 13 (23/03/2019) Another Discord call to David M where we found a game called Override Mech City Brawl. This game is very similar to our group game.

Day 14 (24/03/2019) Discord call to David M again, where we continued having ongoing discussions on what the level should look like. Whilst we were designing our level, we made sure to reference back to London, Tokyo and San Francisco, to ensure a realistic map.
Day 15 (25/03/2019) I worked with David M on creating 3 new Level Designs. David worked in Piskel whilst I advised where the buildings could and should be placed. I then took his pixel Level Design and imported it into the Unity Project to see what it would look like in a 3D space with correctly scaled placeholders of buildings.
Day 16 (26/03/2019) I was tasked with importing the buildings into the level, but we had an issue. The export settings that Stephen had set up were wrong and were causing issues with the scale in Unity. This caused a bit of conflict between Stephen and I as he went on to say it was my fault.
As I have experience in Unity and various 3D modelling programs such as Maya, which Stephen was using to export the buildings, I showed Stephen the correct settings to use when exporting to Unity.
The pixel Level Design was still being refined by David M, who was adding and removing buildings where necessary, as requested by Josh. Later, Stephen came by and said that the City was too big and that a number of buildings needed to be removed, and that more open-plan areas needed to be added.
Day 17 (27/03/2019) Another Discord call with David M discussing what the plans for the Level Design are going to be and how we are going to implement them. We came to the conclusion that the narrower roads need to be widened and that some buildings need to be placed elsewhere. David M went back into Piskel to edit the current Level Design based on the specifications set by Josh, Stephen and ourselves.
Day 18 (01/04/2019) David M finished the Level Design in Piskel which meant that I could now import it into Unity using the script that Stephen provided (City Gen)
I also focused on placing the wall around the map, which Martha had finished modelling.
The 2nd of May was the day of the build. We waited until the Shopping centre was fixed as there was a clear issue with the model due to a height difference with the pavements.

Nobody replied in Slack, but I did get a response in class on Tuesday with a fix.
Day 19 (02/04/2019) I assisted David in Level Designing and creating a Pixel Art map which I then imported into Unity using the city gen tool. We also removed many buildings as the scene had too many polygons. It turned out the houses and apartments had the most polygons. David and I optimized this and reduced the poly count from 8.9M down to 3.9M. I also redesigned the wall layout as it was still too symmetrical/square.

David and I were then tasked with being in charge of the UI design.

Day 20 (04/04/2019) David and I have been tasked with sorting the UI out, so we discussed the UI in a Discord call, and conceptualized it in our heads.
Day 21 (05/04/2019) David and I were in a Discord call, and were talking about how to convert his pixel art UI concepts into vector images. David worked on some concepts whilst screen sharing with me and I advised him on where to put the UI on the screen.

We posted this in Slack and received no feedback until class resumed after the Easter break.
Day 22 (06/04/2019) We were still awaiting feedback from the group, so David and I started working on streamlining the UI, whilst in a Discord call. We discussed having the UI combined with each other, for example the Health and Energy displays attached to each other.
I drew up a mock-up for what I’d like, and so did David:


We ended up with going with this draft:

When the ‘ultimate’ is ready, the grey hexagon around the ‘Y’ will flash (James created a script that makes the light grey flash different colours. Having it a light grey allowed James more control over the colours.) The light grey to the left of the health/energy bars will represent the colour of the player/character that they have chosen. After some feedback in class we chose to make the outside of the energy bar light grey so that can also flash when the ‘ultimate’ is ready.
Day 23 (22/04/2019) After the Easter break David and I spent a day in a Discord call whilst Unity, Photoshop, Illustrator and Piskel were open, conceptualising what the UI would look like on the Character select screen. We discussed the ‘rockets ready’ button as it looked similar to the boost button.


The rockets are similar in style and colour to the T-Shirt design that Stephen, Nancy and Martha designed.

Day 24 (23/04/2019) I spent the afternoon vectorizing the UI in Illustrator, and by the end of the day, I had finished the Health bar and Energy bar. Nothing changed compared to the draft except the background of the energy bar which had been changed from dark grey to light grey.

Day 25 (30/04/2019) After getting back from a wedding, David and I went into a Discord call to discuss the buttons he’s conceptualised in Piskel. He had to finish up the ‘Ultimate ready’ and ‘Laser ready’ buttons. Whilst he was doing that, I was vectorizing all the other buttons. It was pretty easy as the buttons were all the same size, so all I had to do was change the colours and make the logos/images that go onto the buttons. I was able to reuse the buttons because of the consistency in the sizes that we had chosen to use in the UI.

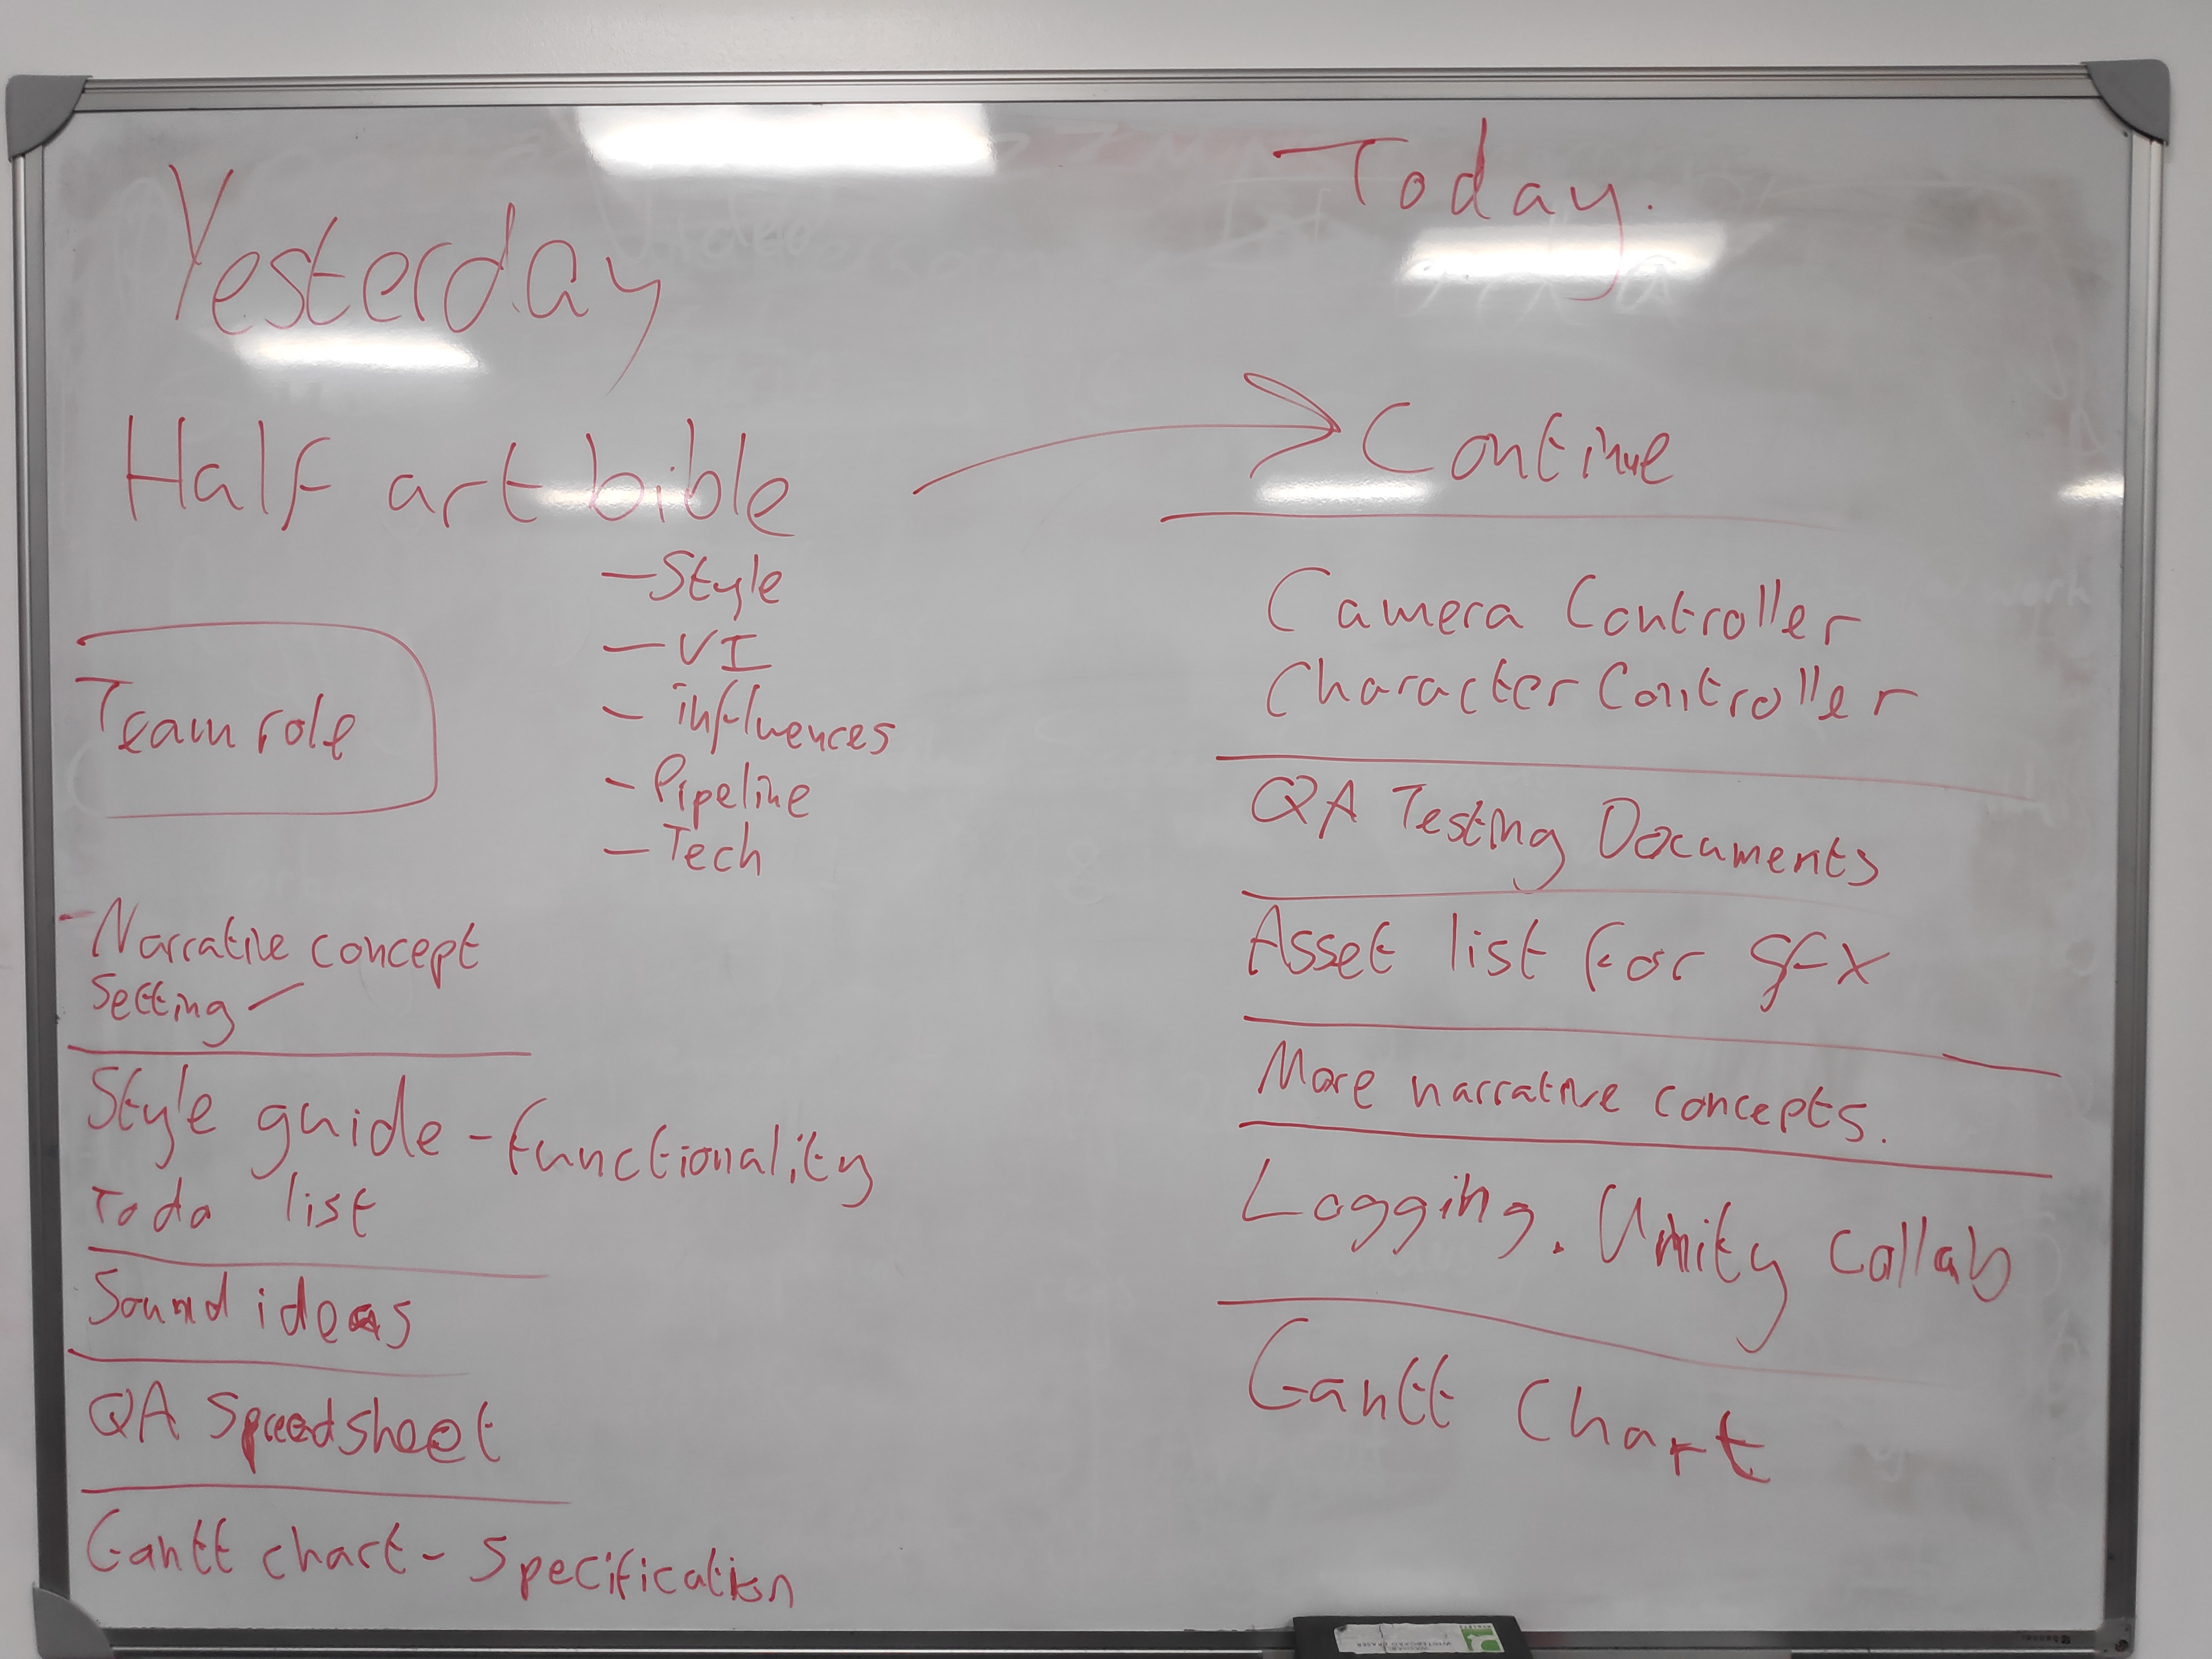
In class this was a meeting we had discussing what needed fixing and what we need.
Once David had finished making the piskel versions of the last 2 buttons I then vectorized them.
I uploaded the Health bar and Energy bar files to the shared drive. When James imported them into the project he found that there was a scaling issue, which we had to fix.
Day 26 (01/05/2019)
I went into illustrator to resize the Health bar and the Energy bar by layering them over each other, so I could use each other as a size reference. David and I then imported these into Unity and it all worked correctly.

David then downloaded the buttons that I had uploaded to the Drive into his own project in Unity to test them and the layout, and we encountered an issue.

It turned out that David exported the Laser ready button at the wrong resolution. This meant I had to re-export all the buttons at the correct resolution of 300dpi. (We wanted the highest detail)

David and I then looked at the consistency of the text and realized that it needed changing as there was no consistency to the fonts used.
Day 27 (05/05/2019) I redesigned all the buttons in Illustrator. I also added Myriad Pro text and Tokyo 2097 text on the buttons. The Tokyo font is used by the artists and was the chosen font by the rest of the group for the title of the game.
We also laid the buttons out in Unity again to see which font we preferred for the buttons.
We then posted the two sets of buttons into Slack to get feedback from the rest of the group.


After waiting for a few hours we got feedback from Nancy and Stephen who both had a valid argument on why the Tokyo font is better. The main reason being continuity with the rest of the game.

Day 28 (06/05/2019) The following day was set to be the ‘build’ day. During the day, a few minor issues cropped up regarding uncommitted saves in the Unity Collab.


Day 29 (07/05/2019) I sent my vectorized ‘Ultimate Ready’ button to Nancy to be posted on social media.
I also started working on posters/pictures that could be stuck onto the board just outside of the room that we will be hosting our end of year show in. These posters/pictures show the workflow and progression from our original concepts to our final designs.
As I was working on the posters/Pictures, David M noted that the Level Design that we were using in the final test build was wrong. The build that Stephen and James used was a map with diagonal roads. David and I had decided to use straight roads as it was easy to manage. I created a new prefab and rearranged some buildings such as the shopping centres to stop them sticking out into the road, and then I made sure that Stephen and James had access to that map. Stephen then went in and added all his visual styles and effects, as well as adding the scripts that James had made for each of the buildings.


Meeting with class to discuss what needs doing/fixing.
Day 30 (08/05/2019) As Josh has another project that he was working on, Stephen took on the role of producer. As I, and a few others in the team had now completed our tasks, we were ‘rolled off’ the project, meaning that we could focus on marketing, and social media campaigns for our game.

Day 31 (17/05/2019) As requested by James to finished the adverts for friday, I went in to 3ds max to clean up my advert model which I played around with a few weeks back. I then made a base texture and 3 adverts. I then imported the model into Unity and placed the adverts on the buildings as a nested prefab so I could add the advert textures.


If you would like to see any of the project files/folders or workflow videos. Please email me. My email can be found on my twitter.
Mechaten Project
Mechaten (Unity)
Workflow (Videos)
References
Flood, D. (2017) Tokyo 2097. Available at: https://www.dafont.com/tokyo-2097.font
Modus Games and The Balance inc (2018) Override Mech City Brawl. Available at: https://overridegame.com/
Slack (2019) Imagine what you’ll accomplish together. Available at: https://slack.com/intl/en-gb/
Watabou (2019) medieval fantasy city generator. Available at: https://watabou.itch.io/medieval-fantasy-city-generator